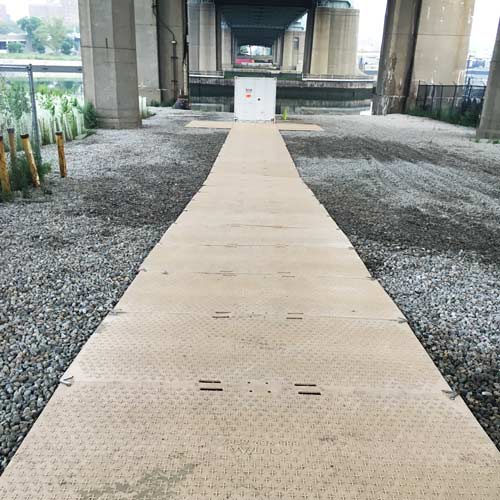
Installing ground protection mats is totally a straightforward work which can ferfectly sthrenthen the durability and functionality of your surfaces. No matter you’re going to protect the road, a construction site, or an area in a livestock feeding stock, these steps will guide you when installing the mats.
Step 1: clear and tidy up the ground
Before laying the mats, clear the ground of any groceries, small stones, or unflat surfaces. Use a rake or a shovel to level the area as much as possible. This supports a smooth base for the mats to lay on, avoid any bumps or dips that could cause the mats to shift or wear unevenly.
Step 2: measure your area and fit
Measure the area where you want to install the mats. This helps you calculate how many mats you’ll need. If the area is in irregular shape, you may need to cut them to fit. Plan the layout in advance, considering any access points or areas that need to be left open.
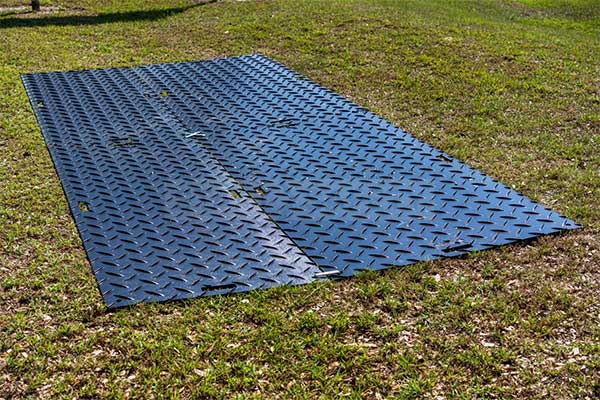
Step 3: Lay the Mats on the ground
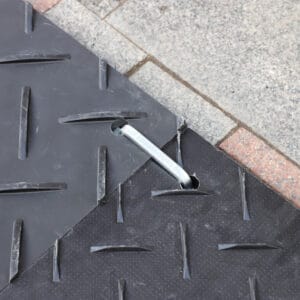
Start from one corner of the area and carefully lay the first mat. Make sure that the edge of the mats fits the sides of the ground . For firming mats, connect them together tightly. Our mats have got four holes on each of the angle. And we also provide different kinds of connectors.
Step 4: Cut and Fit
When you meet around obstacles or you met the corner you need to cut the mats to fit , use a sharp knife or a saw designed for the material of the mat. Measure and mark the cutting lines accurately before cutting!
Step 5: unlock and pack up
After using ,just unlock the mats, take off the connectors and carefully pack them to your truck .