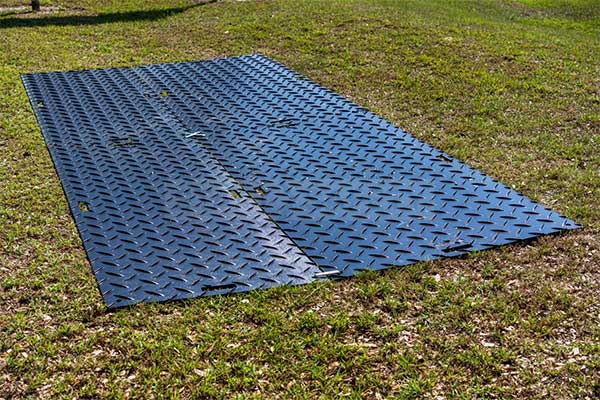
Ground protection mats, also known as temporary road mats or access mats, are essential for providing a stable and durable surface over soft or uneven terrain. Whether you’re working on a construction site, organizing an outdoor event, or managing a landscaping project, these mats ensure safe and efficient access for heavy machinery, vehicles, and pedestrians. Here’s a step-by-step guide on how to install ground protection mats effectively:
1. Assess the Terrain
Before installation, evaluate the area where the mats will be placed. Identify any soft spots, slopes, or obstacles that may affect the stability of the mats. Clear the area of debris, rocks, or vegetation to create a level surface.
2. Choose the Right Mats
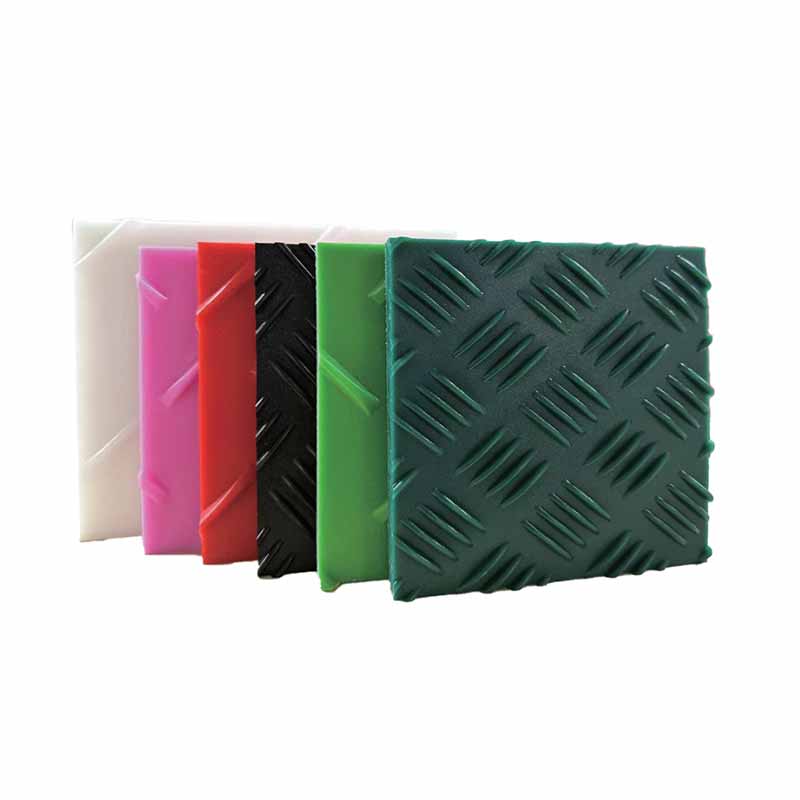
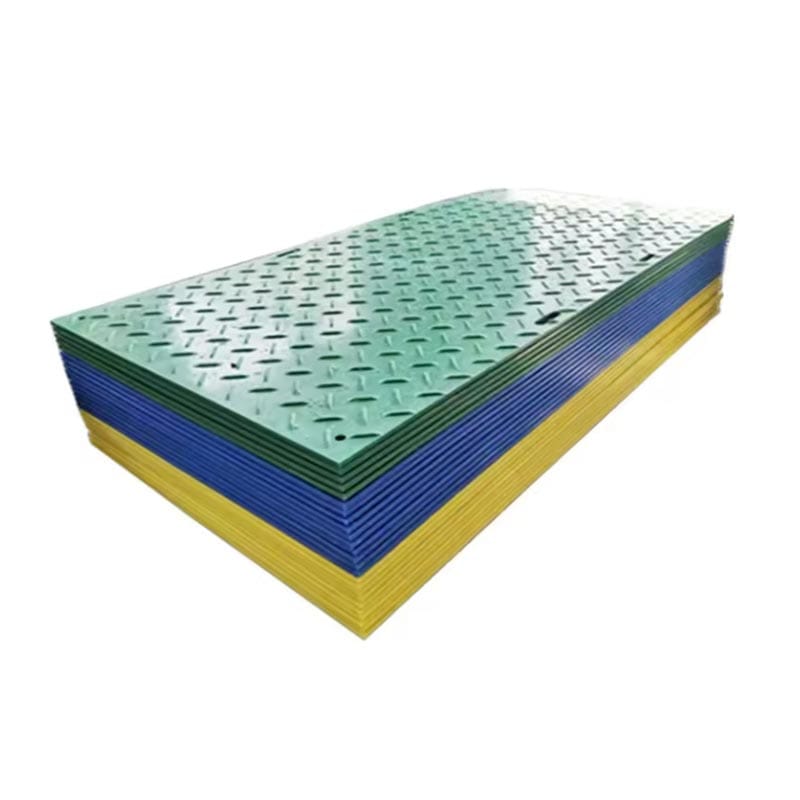
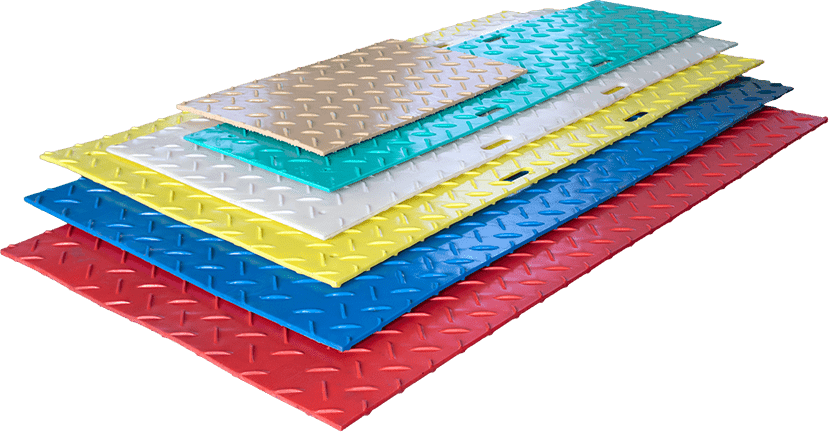
Select ground protection mats that are suitable for your specific needs. Consider factors such as load capacity, mat size, and material (e.g., composite, plastic, or wood). Ensure the mats are durable enough to withstand the weight and traffic they will encounter.
3. Plan the Layout
Determine the direction and pattern in which the mats will be laid. For optimal stability, stagger the joints between mats, similar to how bricks are laid. This prevents gaps and ensures even weight distribution.
4. Begin Installation
Start at one end of the area and lay the first mat firmly on the ground. Use a sledgehammer or a rubber mallet to tap the mat into place if necessary. Ensure the mat is level and securely positioned.
5. Connect the Mats
Most ground protection mats feature interlocking mechanisms, such as tongue-and-groove or link systems. Connect the adjacent mats by aligning the edges and pressing them together. Repeat this process until the entire area is covered.
6. Secure the Perimeter
To prevent shifting, secure the outer edges of the mat system. You can use stakes, anchors, or heavy equipment to hold the mats in place, especially on slopes or uneven terrain.
7. Inspect the Installation
Walk over the installed mats to check for stability and any loose connections. Make adjustments as needed to ensure a safe and secure surface.
8. Maintain the Mats
Regularly inspect the mats during use, especially in high-traffic areas. Remove any debris or mud that may accumulate on the surface to maintain traction and prevent slipping.
9. Remove and Store
Once the project is complete, carefully remove the mats. Clean them if necessary and store them in a dry, flat area to prevent warping or damage.
By following these steps, you can ensure a safe and efficient installation of ground protection mats. These versatile solutions not only protect the underlying ground but also enhance productivity and safety on any job site. For high-quality ground protection mats, contact us today to find the perfect solution for your needs!